Installing on
Windows Azure
Creating CentOS VMs
You will need to sign up for the Windows Azure Virtual Machines preview feature in order to create a virtual machine. You can also sign up for a free trial account if you do not have a Windows Azure account.
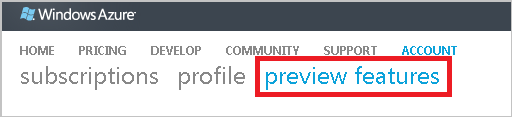
Navigate to https://account.windowsazure.com and sign in with your Windows Azure account.
Click “preview features” to view the available previews.
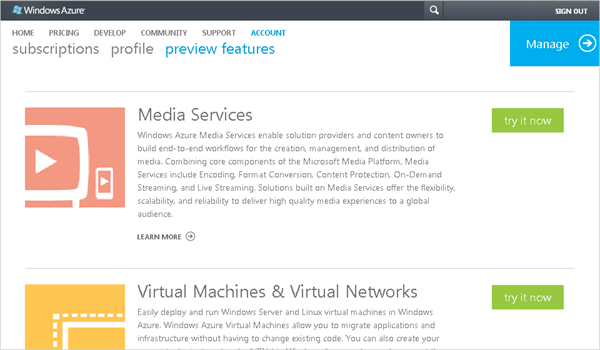
Scroll down to Virtual Machines & Virtual Networks and click “try it now”.
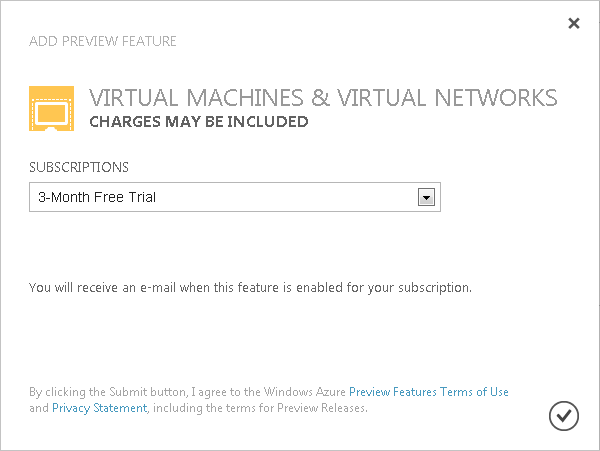
Select your subscription and click the check.
Create a virtual machine running CentOS Linux
Login to the Windows Azure (Preview) Management Portal using your Windows Azure account.
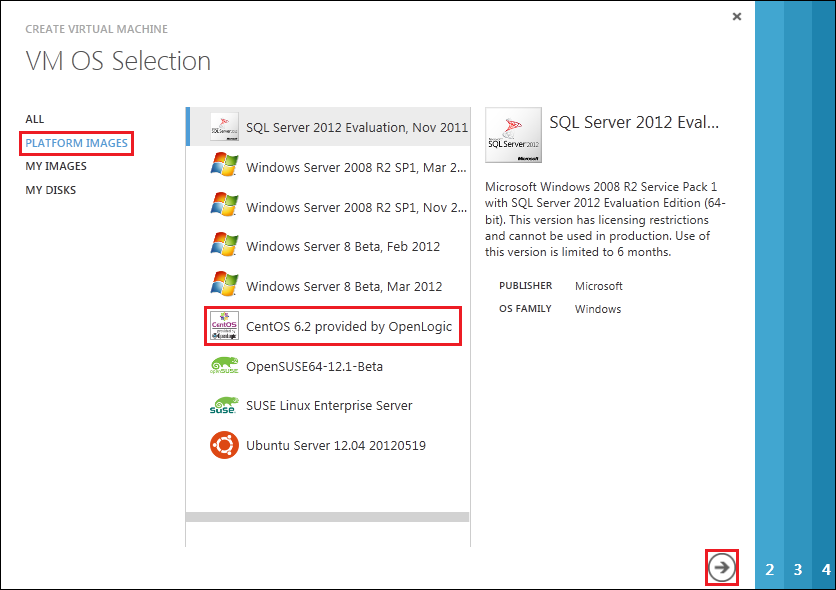
In the Management Portal, at the bottom left of the web page, click “+New”, click “Virtual Machine”, and then click “From Gallery”.
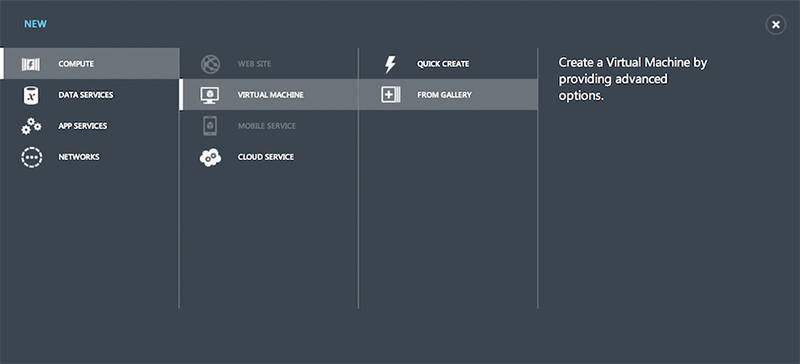
Select a CentOS virtual machine image from “Platform Images”, and then click the next arrow at the bottom right of the page.
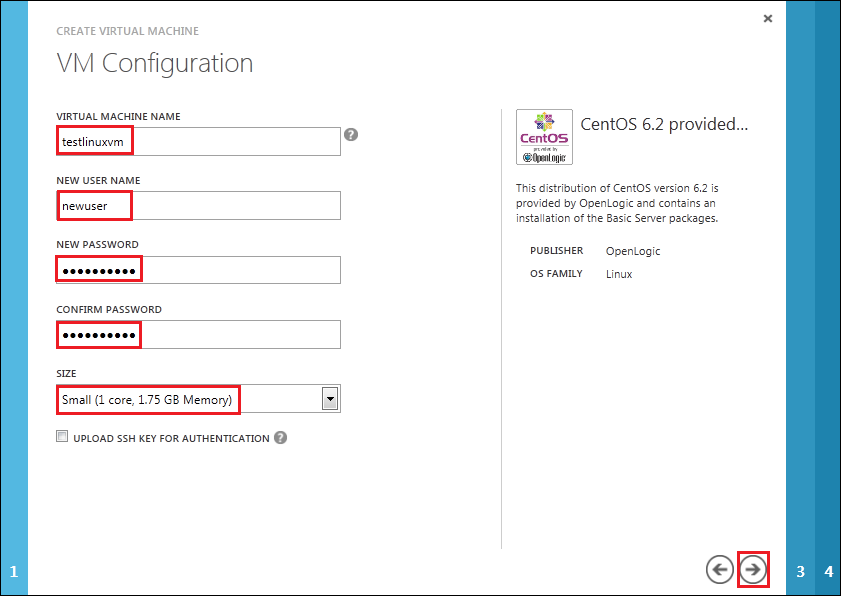
On the VM Configuration page, provide the following information:
- Provide a “Virtual Machine Name”, such as “testlinuxvm”.
- Specify a “New User Name”, such as “newuser”, which will be added to the Sudoers list file. Do NOT use the username “riak”, as it may conflict with the installation package.
- In the “New Password” box, type a strong password.
- In the “Confirm Password” box, retype the password.
- Select the appropriate “Size” from the drop down list.
- Click the next arrow to continue.
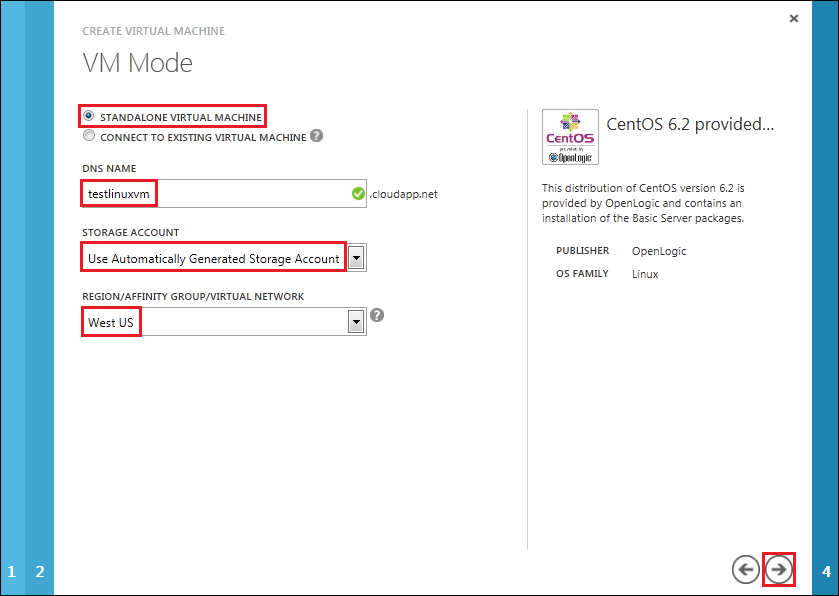
On the VM Mode page, provide the following information:
- If this is the first node, select the “STANDALONE VIRTUAL MACHINE” radio button. Otherwise, select the “CONNECT TO EXISTING VIRTUAL MACHINE” radio button, and select the first node in the drop down list.
- In the “DNS Name” box, type a valid DNS address, e.g “testlinuxvm”.
- In the “Storage Account” box, select “Use Automatically Generated Storage Account”.
- In the “Region/Affinity Group/Virtual Network” box, select a region where this virtual image will be hosted.
- Click the next arrow to continue.
On the VM Options page, select “(none)” in the “Availability Set” box. Click the check mark to continue.

Wait while Windows Azure prepares your virtual machine.
Configure Endpoints
Once the virtual machine is created you must configure endpoints in order to remotely connect.
In the Management Portal, click “Virtual Machines”, then click the name of your new VM, then click “Endpoints”.
If this is the first node, click “Add Endpoint”, leave “Add Endpoint” checked, hit the right arrow and fill out the next form as follows:
- Name: https
- Protocol: leave set to ‘TCP’
- Public Port: 443
- private Port: 8069
Connect to CentOS VMs using PuTTY or SSH
When the virtual machine has been provisioned and the endpoints configured you can connect to it using SSH or PuTTY.
Connecting Using SSH
For Linux & Mac Users:
ssh newuser@testlinuxvm.cloudapp.net -o ServerAliveInterval=180
Enter the user’s password.
For Windows Users, use PuTTY:
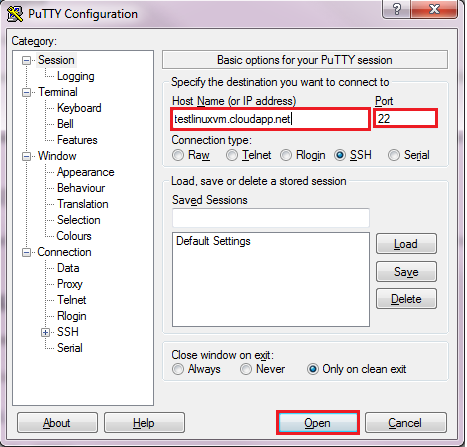
If you are using a Windows computer, connect to the VM using PuTTY. PuTTY can be downloaded from the PuTTY Download Page.
Download and save putty.exe to a directory on your computer. Open a command prompt, navigate to that folder, and execute putty.exe.
Enter the SSH DETAILS as found on the Node’s Dashboard, i.e., “testlinuxvm.cloudapp.net” for the Host Name and “22” for the Port.
Install Riak and configure using a shell script
- On each node, once you’ve connected using the steps above, execute:
sudo su -
curl -s https://raw.githubusercontent.com/basho/riak_on_azure/1.0/azure_install_riak.sh | sh
Configure Riak using Riak Control
You can either use Riak Control or the command line to add nodes to your Riak Cluster. If you wish to add nodes via the command line, skip down to the section entitled “Configure Riak using Command Line”
Find the dns name and “Deployment ID” in the virtual machine dashboard of the VM you created the https endpoint for. For Example:
- dns: basho-example.cloudapp.net
- Deployment ID: 7ea145743aeb4402a088da1234567890
Visit https://dns-name.cloudapp.net/admin in your browser
Enter ‘admin’ as the username, and the “Deployment ID” as the password.
Select ‘Cluster’ on the left.
Add VMs which also have the Riak software installed and configured by entering riak@yourhostnamehere in the input box, and clicking ‘Add Node’. Use the short name of each vm, not the DNS name. For Example:
- riak@basho-centos1
You now have a Riak cluster on Azure
Configure Riak using Command Line
If you have already followed the instructions in the section “Configure Riak using Riak Control”, skip this section.
First, SSH into the second (and subsequent nodes) and execute:
riak-admin cluster join riak@yourhostnamehere
(Where ‘yourhostnamehere’ is the short name of the first node in your cluster)
(NOTE: The host you choose can actually be any host that has already joined the cluster. The first host has no special significance, but it’s important not to attempt to join to a node that hasn’t joined a cluster yet. Doing this would create a second cluster; thus we use the first node for these instructions.)
After all the nodes have have been joined to the first node via the previous command, connect to any of the nodes via SSH or PuTTY and execute the following:
riak-admin cluster plan
Verify all the nodes are listed as expected. If the cluster plan looks good:
riak-admin cluster commit
To check the status of clustering use:
riak-admin member-status
You now have a Riak cluster on Azure
Load Test Data
Execute on any one of the nodes:
curl -s http://rekon.riak.com | sh
Visit DNS address listed on the dashboard, at the port we opened as an endpoint:
http://testlinuxvm.cloudapp.net:8098/riak/rekon/go